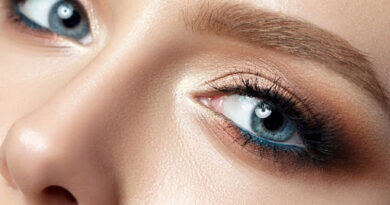
How to Create a Perfect Contour that Suits Your Face Shape?
Contouring is a popular makeup technique that involves using darker shades to create shadows and define certain areas of the face, creating a more sculpted and defined look. However, creating the perfect contour can be challenging, especially if you don’t know your face shape or how to enhance your features. In this article, we will discuss everything you need to know about creating a perfect contour that suits your face shape.
Understanding your face shape
Before you begin contouring, it is important to understand the shape of your face. There are six main face shapes: round, oval, square, heart, diamond and long. Knowing your face shape will help you determine which areas to contour and which areas to highlight.
Round face shape
If you have a round face shape, your cheeks are full and your chin is rounded. To contour a round face shape effectively, you must create the illusion of slimmer cheeks and more defined cheekbones.
Oval face shape
An oval face shape is longer than it is wide and usually has a slightly rounded jawline. To contour an oval face shape, focus on enhancing the jawline and cheekbones to create more definition.
Square face shape
A square face shape is characterized by a strong jawline and forehead. To contour a square face, you need to soften the angles of the face and highlight the cheekbones to create more definition.
Heart face shape
The heart face shape is widest at the forehead and tapers to a narrow chin. To contour a heart face shape, balance the width of the forehead with the narrowness of the chin and create more definition around the cheekbones.
Diamond face shape
The diamond face shape features wider cheekbones and a narrow forehead and chin. To contour a diamond face shape, focus on creating more definition around the forehead and jawline.
Long face shape
The elongated face shape is characterized by a narrow face and an elongated chin. To contour an elongated face, focus on creating the illusion of a shorter face and more defined cheekbones.
Choosing the Right Products
When it comes to contouring, choosing the right products is crucial. You want to choose shades that are one to two shades darker than your skin tone and have a cool undertone to mimic natural shadows.
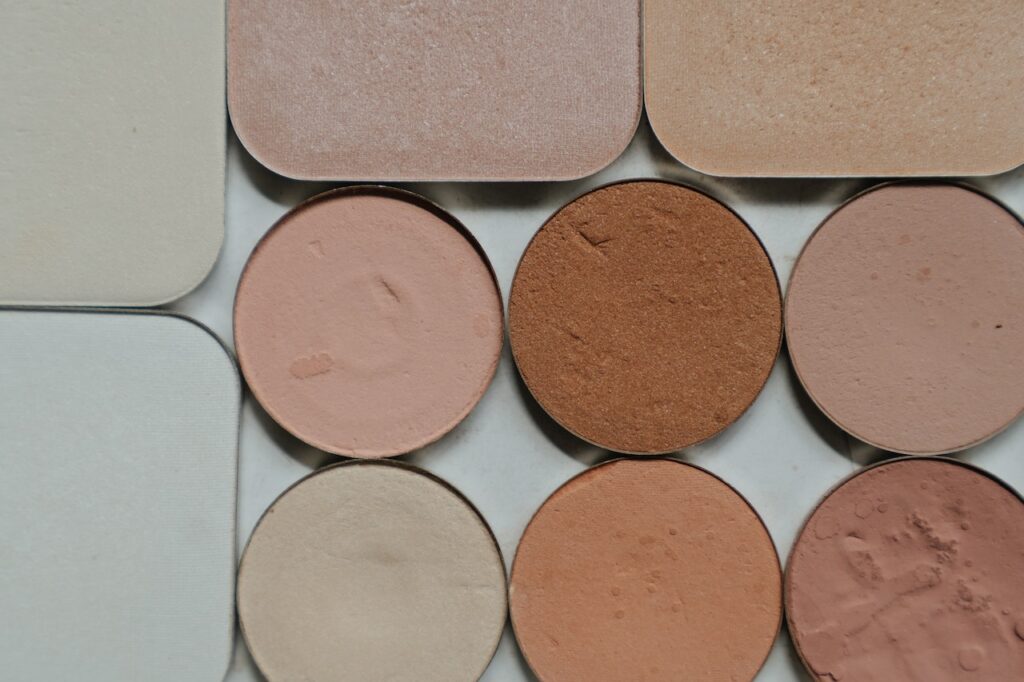
Cream Contour
Cream contour products are ideal for creating a natural-looking contour. They are easy to blend and can be built up for a more dramatic look. Some popular cream contour products include the Iconic London Multi-Use Sculpting Palette, Make Up For Ever Ultra HD Invisible Cover Cream Foundation Palette, and TOM FORD Shade and Illuminate.
Powder Contour
Powder contour products are great for creating a more defined and chiseled look. They are easy to apply and blend and work well for oily skin types. Some popular powder contour products include the Anastasia Beverly Hills Contour Kit, Charlotte Tilbury Filmstar Bronze & Glow Contour Duo, and MAC Sculpt and Shape Powder.
How to Contour Based on Your Face Shape
Now that you understand your face shape and have chosen the right products, it’s time to start contouring.
Round Face Shape
Round faces have softer features and a more circular shape. To create the illusion of more definition and structure, contouring should focus on the cheeks, jawline, and forehead. Start by applying your contour product under your cheekbones, blending upwards towards your temples. Next, apply the product along your jawline to create a more defined shape. Finally, apply the product to your forehead, blending upwards towards your hairline.
Oval Face Shape
Oval faces are longer than they are wide, with a more prominent forehead and chin. Contouring should focus on the sides of the face to create the illusion of more width. Start by applying your contour product along your temples and the sides of your forehead. Next, apply the product under your cheekbones, blending towards your jawline. Finally, apply the product to the sides of your nose to create a more defined shape.
Square Face Shape
Square faces have a more angular shape, with a prominent jawline and forehead. Contouring should focus on softening the jawline and forehead to create a more rounded shape. Start by applying your contour product along your hairline, blending towards the center of your forehead. Next, apply the product under your cheekbones, blending towards your jawline. Finally, apply the product along your jawline, blending towards your chin.
Heart Face Shape
Heart-shaped faces have a wider forehead and a more pointed chin. Contouring should focus on the chin and jawline to create a more balanced look. Start by applying your contour product along your jawline, blending towards your chin. Next, apply the product to the sides of your forehead and temples to create a more defined shape. Finally, apply the product to the hollows of your cheeks, blending upwards towards your temples.
Diamond Face Shape
To contour a diamond face shape, apply a small amount of contour to the sides of the forehead and blend downwards towards the temples. Apply contour to the hollows of the cheeks and blend upwards towards the ears. Apply contour to the jawline and blend downwards towards the neck.
Oblong Face Shape
There are various techniques available to contour an oblong face shape. Firstly, for the forehead, one can apply the contouring product on the sides of the forehead and blend it towards the hairline, creating a shorter forehead illusion. For the nose, one can apply the product to the sides of the nose, blending towards the center to create a narrower nose appearance. Additionally, for the cheeks, applying the product to the hollows of the cheeks and blending it towards the ears will result in a more defined cheekbone appearance. Lastly, for the jawline, one can apply the contouring product to the jawline and blend it towards the neck, creating a more defined jawline.
Highlighting Your Features
To complete the contouring look, it’s important to highlight certain areas of the face. Highlighting will create a more lifted and glowing effect.
Under-Eye Area
Use a dab of the product under your eyes to cover up any dark circles.
Nose
Apply a modest amount to the bridge of your nose to create a subtle highlight.
Cupid’s Bow
Use a smidgen of the product on your cupid’s bow to enhance your lip shape.
Brow Bone
Apply a touch of the product just below your eyebrows to accentuate your brow bone.
Cheekbones
Use a hint of the product on your cheekbones to add a touch of glow to your face.
Final Touches
To complete the perfect contour, it’s important to blend everything together seamlessly. Use a damp beauty blender or a fluffy brush to blend any harsh lines.
Common Mistakes to Avoid
When contouring, there are a few common mistakes to avoid:
Using too much contour product can make your makeup look heavy and unnatural.
Applying contour too low on your cheeks can make your face look saggy and droopy.
Not blending properly: Failing to blend your contour properly can create harsh lines and an unnatural look.
Conclusion
Creating a perfect contour that suits your face shape can be challenging, but it’s easy with the right techniques and products. Remember to choose the right contour products, apply them properly, and blend them well to achieve a seamless and natural-looking contour. With practice, you’ll be contouring like a pro in no time!